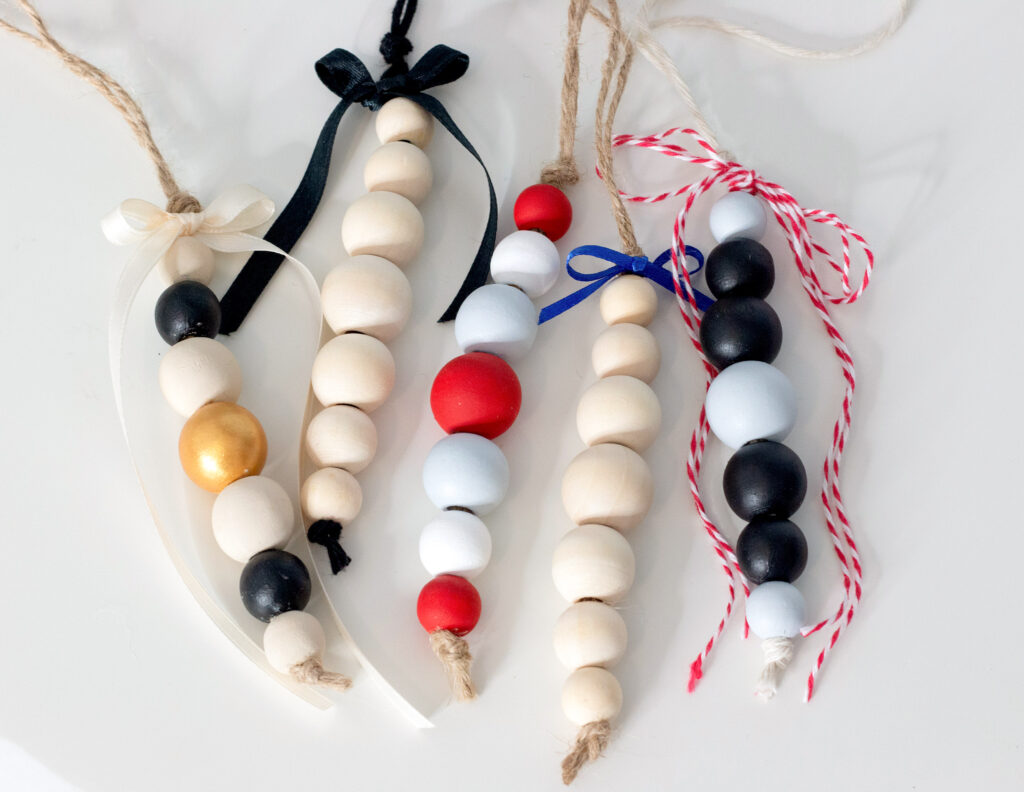
During the holidays, it can be fun to do some DIY projects. We have a fun and easy DIY Christmas ornament to share today. It requires just a few supplies and is a pretty quick project. It can even make a nice gift! Grab your favorite holiday drink, and let’s get crafting. We’re showing you how to make a DIY Christmas ornament with wood beads.
DIY Christmas Ornament with Wood Beads
This is a fairly simple DIY project that can reflect every taste and style. It’s a perfect afternoon craft or great for an ornament making party! In the end, you’ll have some new ornaments to hang on the tree or gift to someone.
Supplies
- Twine
- Wooden Beads
- 1/4” ribbon or 1/8″ ribbon
- Acrylic paint & paint brush (optional)
- Needle & thread
- Adhesive (optional)
Wooden Beads
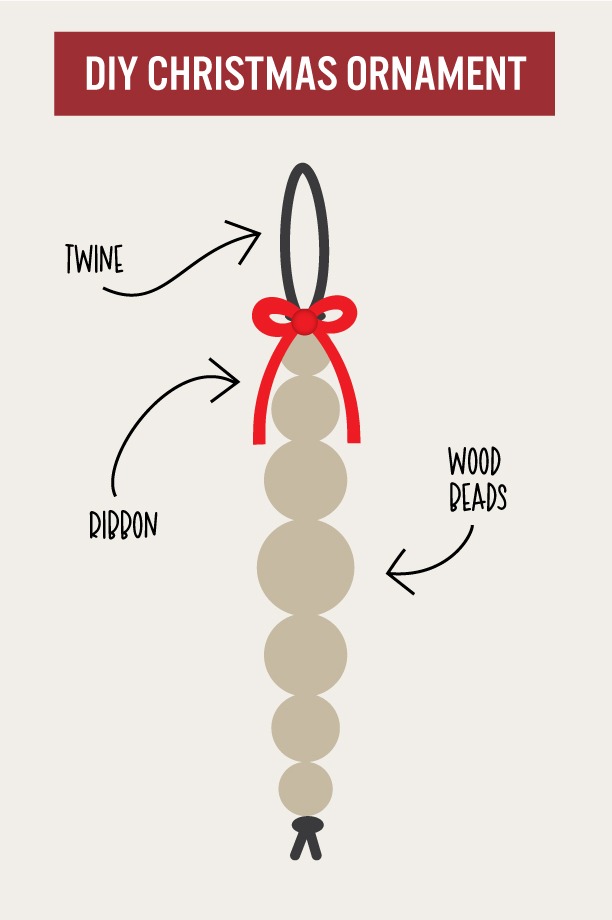
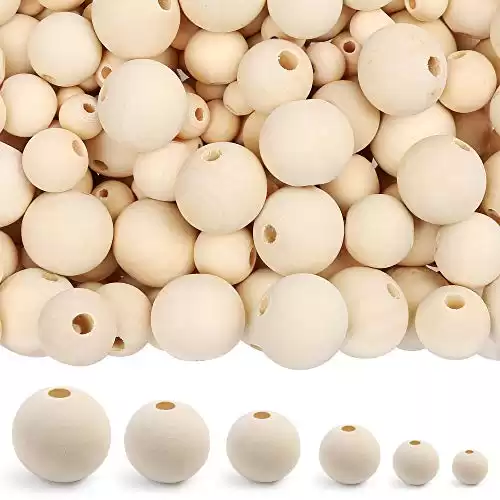
I found a pack of 500 wooden beads with various sizes. It came with 6 sizes of beads and we’ll use 4 sizes. This will help to give the ornament a tapered look. We will not use the 2 smallest beads. They would be more difficult to string onto the twine.
500 pc natural finish wooden beads with predrilled holds for crafts, garland, decor, jewelry and more. 6 different sizes.
Twine
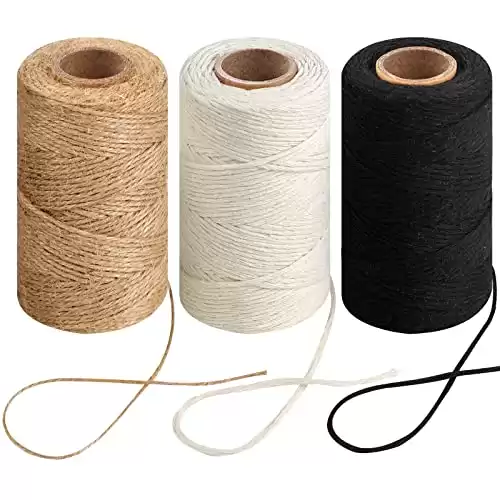
Natural jute twine (2mm) is great for this project. I found a 3 pack with one jute twine and 2 different colored cotton ropes to have some different options. Each worked nicely for the ornaments. The cotton twine is easier to pull through the beads.
3 rolls of twine and cotton rope for crafts, art, gardening, gift wrapping, packing, etc.
Ribbon or Colorful Twine
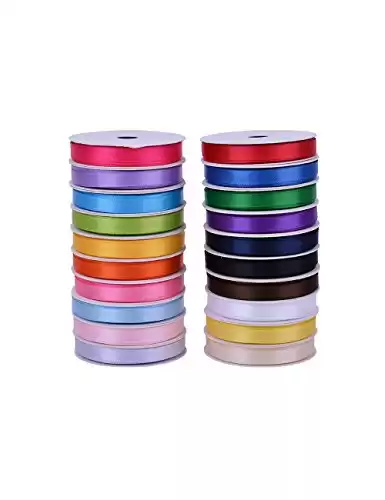
For these ornaments, 1/4” or 1/8″ ribbon is ideal to use. Anything bigger will be too big for the size of bow we need. You can also use colorful cotton twine for the bow. You can see both in my examples.
Set of 20 colors of 1/4" satin yarn for crafting, gift wrapping, hair bows, etc.
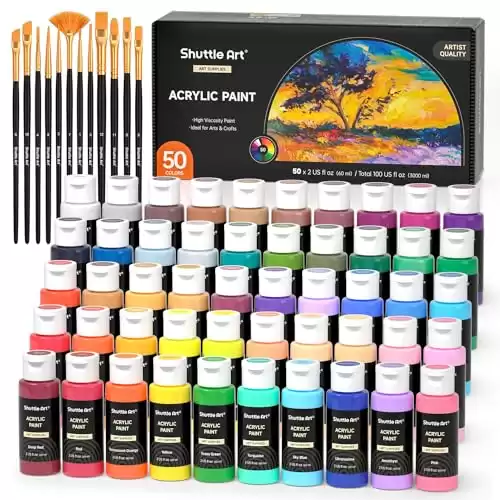
Acrylic Paint or Spray Paint
This is only needed if you want painted beads. If you want to leave the beads natural, that works too!
Set of 50 acrylic paints with brushes. Premium paints for artists, beginners and kids. Paint on canvas, wood, rocks, ceramic, etc.
If you want to use painted beads, here are a few tips:
- Paint the beads before assembling the ornaments. It’s a lot harder to paint them once they’re on the twine, especially if you’re using multiple colors.
- Wear gloves to keep your hands clean
- You may need a couple of coats of paint on each bead so that they’re fully covered.
- To paint each bead, you can put them on a toothpick or a q-tip with one end cut off. The q-tip works great if you push the bead down to the end that still has the cotton head. The cotton helps hold it in place!
Ornament Examples
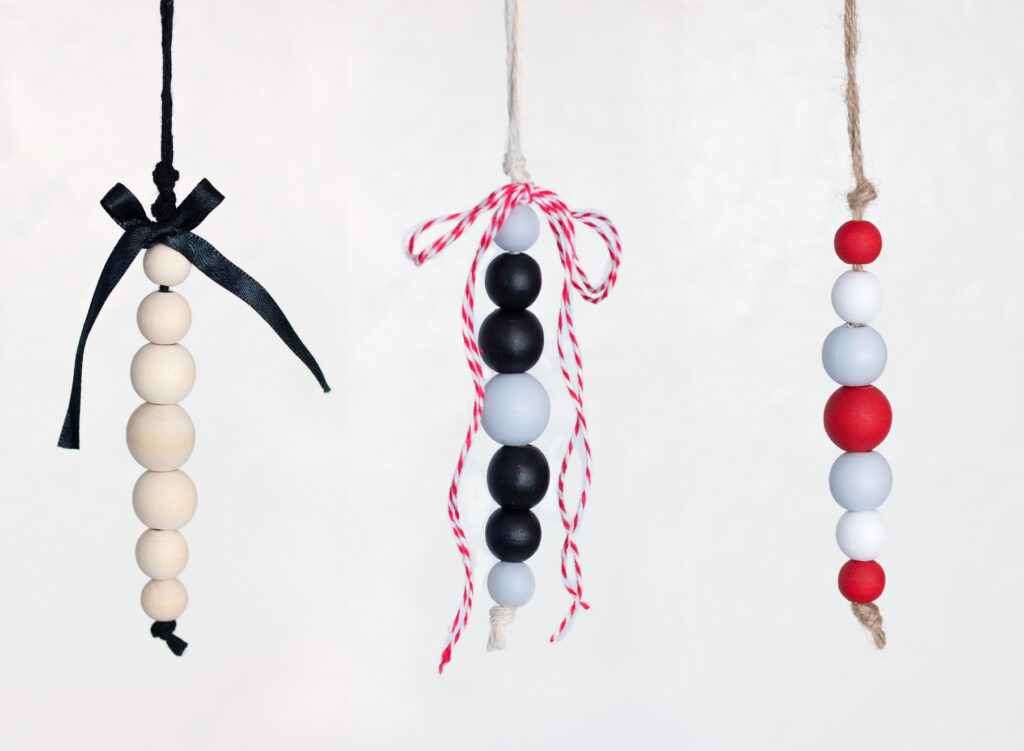
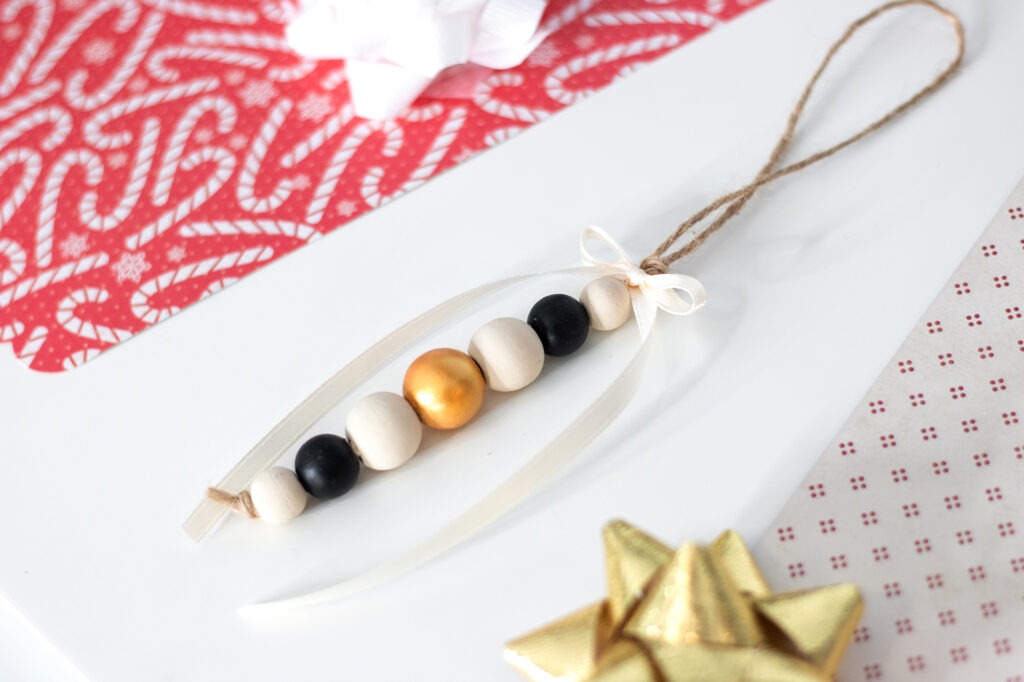
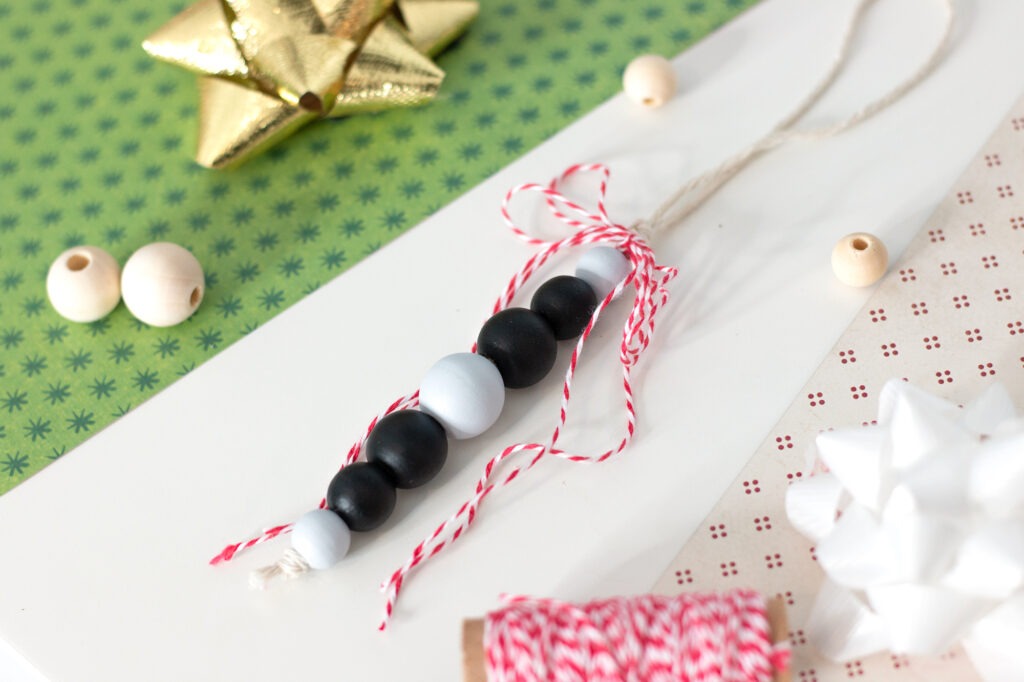
Here are some examples for inspiration before you start. You can see the different twines, color of beads, and different bows used. You can make such a variety with this project! Custom make each one to suit your style. You can use sport team colors, match your home decor, or match the theme of the tree itself.
Instructions for the ornament
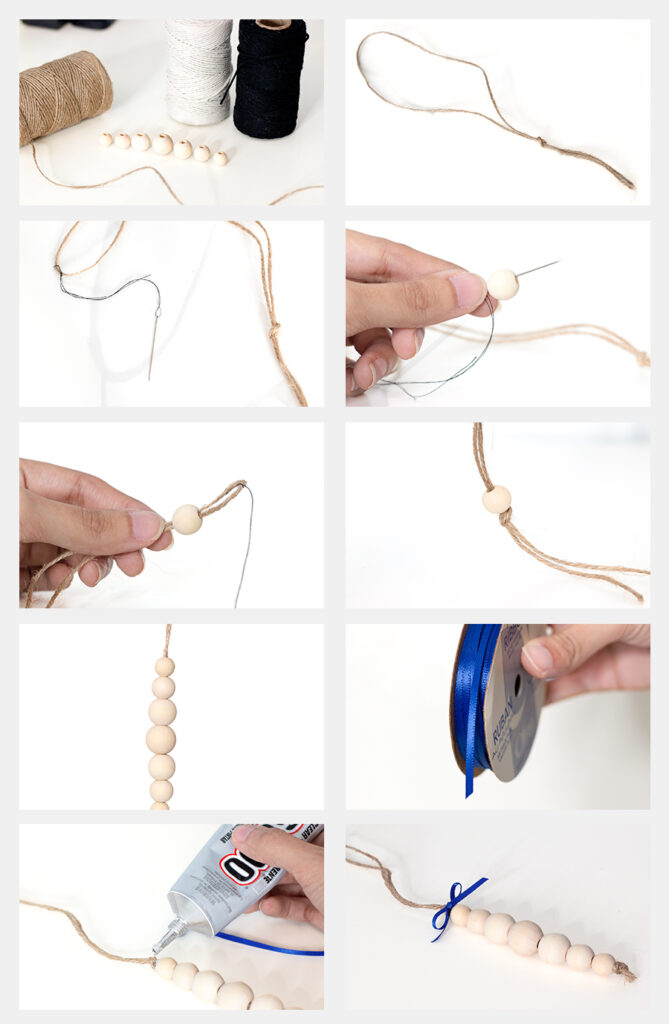
- Arrange your beads in order on your surface so you can easily grab them.
- Measure and cut about 2 ft of twine.
- Fold the twine in half. Tie a knot about 3 inches from the loose ends. You should now have a loop.
- Thread your needle and tie the end of the thread to the top of the loop with a single knot. You’ll use this to help pull the twine through the bead.
- Start with the smallest bead you’re using. Pull the needle through the bead. Gently tug the needle and thread so that the twine follows through. The smallest beads may be a little difficult to get through. You can use a toothpick or something similar to help push it through.
- Place the rest of the beads using the same pull-through method. The larger beads have bigger holes and will be easier to get into the twine.
- Once the beads are all on the twine, take the thread off of the twine.
- Take the top of the loop and make a knot right above the top bead to hold all of the beads in place.
- Tie on ribbon or colorful twine right above the top bead. Alternatively, you can make the bow first and glue it on instead of tying it on.
- Trim any excess twine or ribbon to complete the ornament.
- You’re done! Time to hang the ornament on the tree!
Ornament making party
This is a great DIY for a group of people to do. Get enough beads for each person to make a few ornaments. You can pre-paint the beads before the party or let everyone paint them at the party. Get different paints, twines, and ribbons from the suggestions above so that everyone can really customize their ornaments. Get little mesh bags like this for everyone to take them home in.
Ideas for the ornaments
- Hang them on the tree
- Put them on gifts with a gift tag
- Give a set as a handmade gift
Other tips for this craft
- This craft is best suited for adults only.
- The twine is initially folded in half so that it easily makes a loop for hanging the ornament. You can instead opt to use a single strand of twine without folding it. Then, stringing the beads will be much easier. Remember to still make the beginning knot on one end and then a loop at the other end once the beads are all strung.
- If you don’t want to mess with a needle and thread when assembling the ornaments, you can just use a toothpick to help push the twine through. I tested this method and it worked fine, though the twine started separating a little where the toothpick was hitting.
- Try different things that work for you! You now have the basic idea of the ornament. Make adjustments where you want to.
How did you like this DIY? Anything you would do differently? Hopefully we gave you some good ideas for your DIY Christmas ornament. We’d love to see what you create and hear how it went. Comment below and let us know!
Check these out:
25 Festive Christmas Activities To Do (+printable checklist)
Must-Have Kitchen Gadgets & Tools
- 20 Spring Activities for Adults - March 20, 2025
- Home Coffee Bar Essentials - March 9, 2025
- Cricut Machine Comparison: Which one to buy? - January 3, 2025
Leave a Reply