House hunting, moving, and projects. That’s been my life for the last year. Here’s what happened and also find a fun little diy welcome sign I made and you can make too….
Early last year, we found out we had to move out of the house we were staying in and with that news came a big decision of what to do next. We’ve always been renters and didn’t know if we’d even qualify for buying a house. We started to weigh out our options.
What we knew we needed in a home:
- Garage for storage
- 2+ bedrooms
- A secure yard for our escape-artist dog Toby
- Parking for three vehicles and a utility trailer
That’s a tall order when it comes to renting. We had both rented apartments and houses in the past and knew the difficulties that we could face with renting either again.
On the flip side, buying seemed very intimidating and we weren’t sure if we could afford a mortgage, especially with interest rates so high. On top of that, housing inventory was very low in our area. We both had some savings and had worked on improving our credit scores, so we at least had a good starting point.
We decided to check with a lender to see what we’d qualify for. Was this dream even possible or were we still far from that reality?
Buying Our First House
To our surprise, we got pre-approved, got set up with a realtor, and were house hunting shortly after. It actually didn’t take that long to find a home that suited our needs. I think we just got lucky! We put in an offer and it was accepted later that day. It lacked a few things we would’ve liked, but for a first house, it far exceeded our expectations.

We did a few necessary projects first. Then we packed up, moved in, and started to make it our own. Once we got everything unpacked and situated, decorating became more of a focus – finally! I started with a crafty project – a diy welcome sign.
DIY Welcome Sign
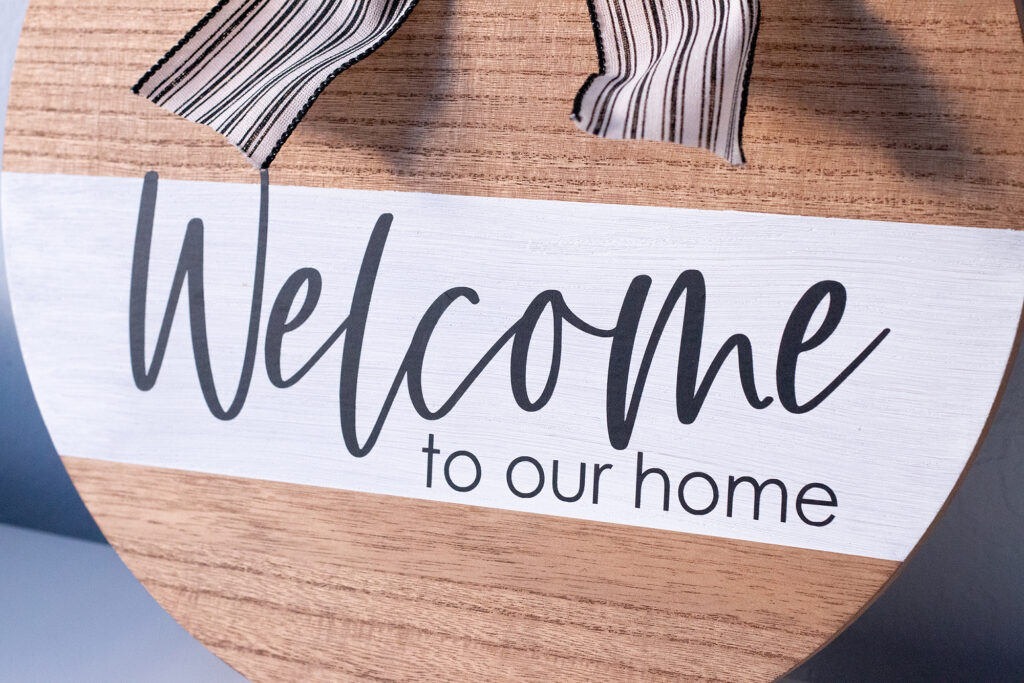
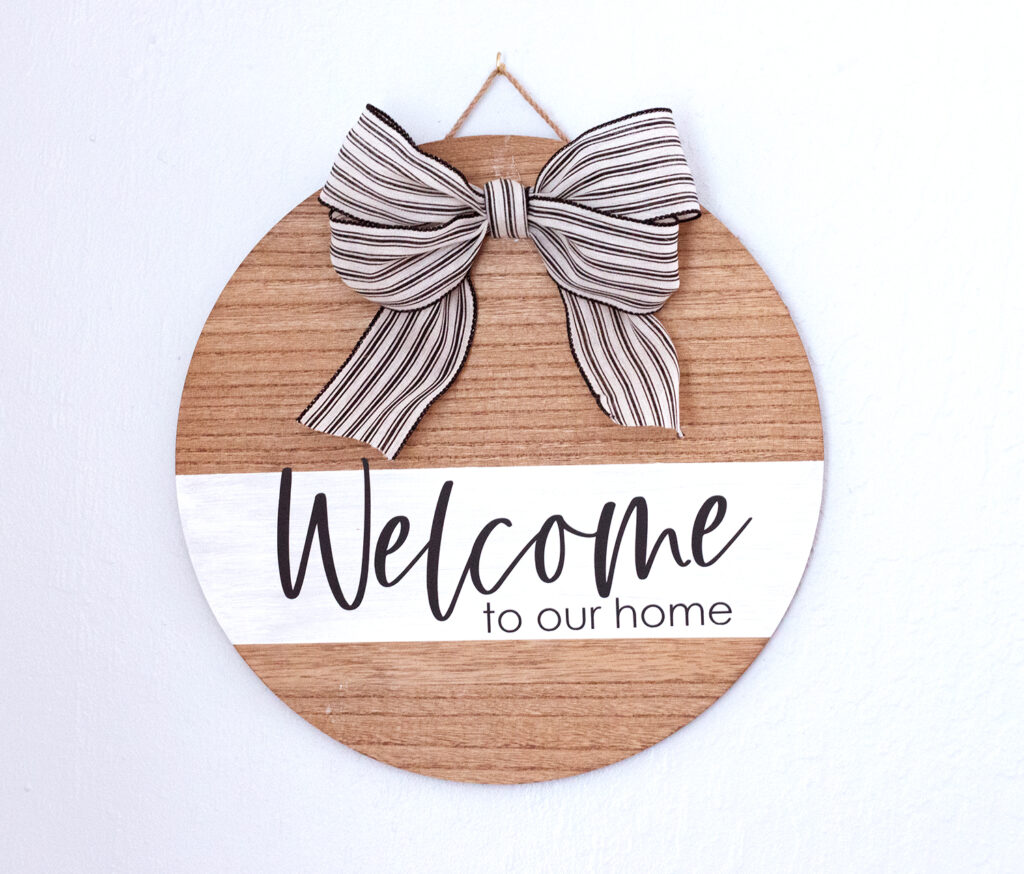
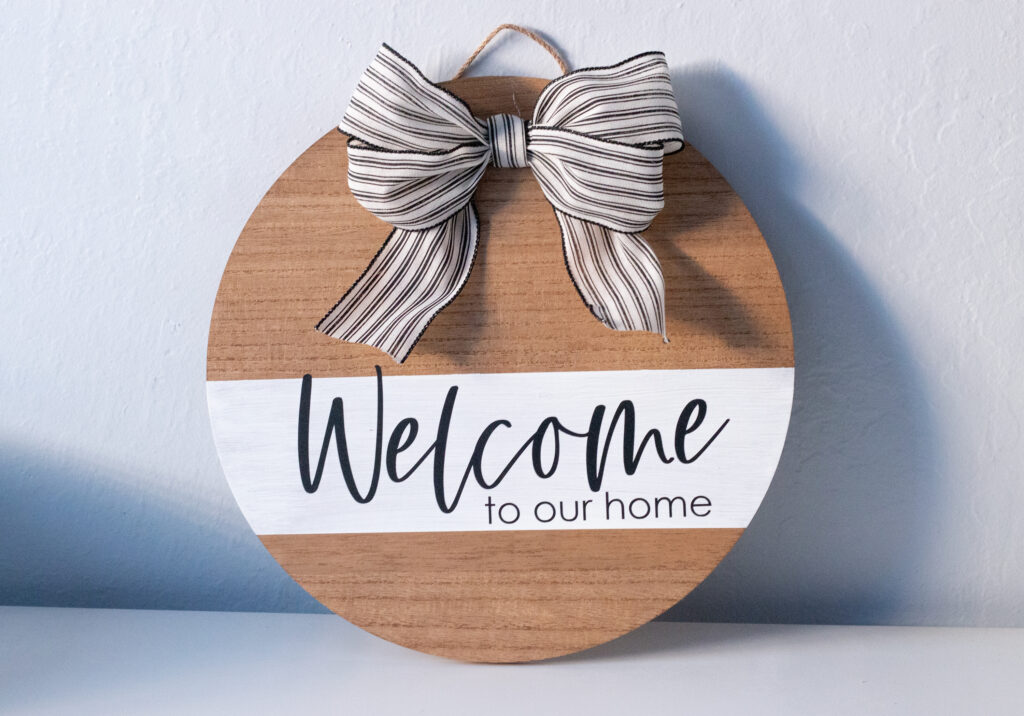
I had a vision for a round wooden sign with a simple bow, wide white stripe, and vinyl black lettering.

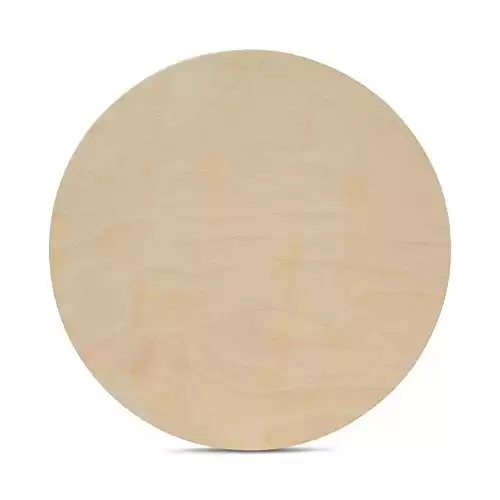
It was time to head to the store to gather some supplies. I found a 15” round wooden sign that had a rope already attached for hanging and I also picked up wood stain, ribbon, acrylic paint, and sealant. Luckily, I already had some things like paint brushes, tape, and vinyl (for my Cricut) at home.
Starting the Project
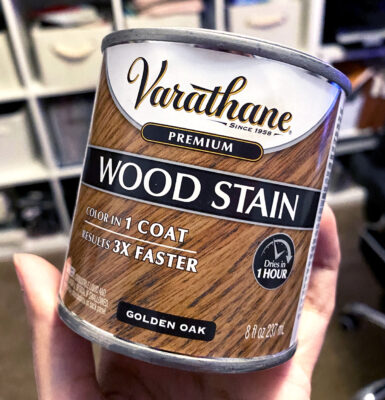
I started with setting up my space for staining and painting. I protected my table with thick Kraft paper. Then, I read the directions on my little stain can and it instructed me to prep the surface I’m staining. I did some light sanding with a 120 grit sanding block and used a tack cloth to remove the dust.
After prepping the wood, I started applying the stain with a brush, but didn’t like how it was going on. So I grabbed a washcloth to rub it on and the outcome was much better. It applied very easily and didn’t streak. I let it dry for an hour and then applied one more coat. Then I let it sit for the rest of the day.
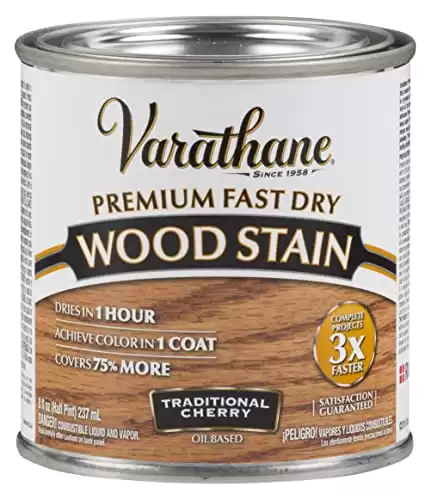
Fast drying wood stain that's easy to use!
- Oil based
- Achieves color in 1 coat
- Dries in 1 hour
- Many colors
The next day, I applied painter’s tape, leaving a gap where I wanted to apply the paint (about 4 inches). I poured some white acrylic paint on a paper plate and started painting in long strokes, going with the grain. After letting the first coat dry for an hour, I applied a second coat and decided that was enough. I took my tape off and again, let it sit overnight.
I sprayed it with sealant the next day and left it to fully dry. Meanwhile, I tested out fonts and word sizing in photoshop. Measuring the painted area of my sign made it easier to size the lettering. I opened up Cricut’s Design Space, added my words, and cut the vinyl. I applied the vinyl to the sign and it was already looking awesome.
The finishing touch
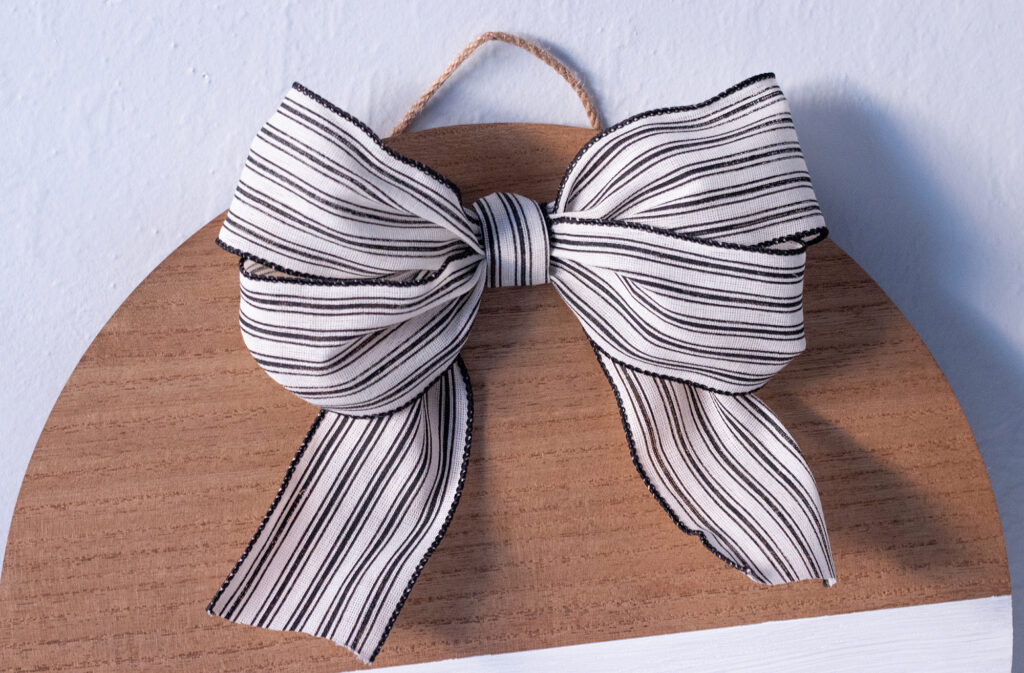
The last step was to make a bow out of ribbon, which I had never done before, so I was hoping for the best. After watching a bunch of videos, it took me several attempts over a few days to get a decent bow. I tried using hot glue to attach it but it dried too quickly before I could adhere it to the wood. Then I tried super glue and that didn’t work either. I went and bought E6000 hoping it would be the answer, and luckily it was. This stuff is awesome! I just had to keep the bow in place in for a few minutes in order for it to remain in place.
Clear adhesive, multi-purpose, and waterproof.
- Paintable
- Great for crafts, wood, jewelry, furniture, fabric, etc
- Washer/dryer safe
That was it! My sign was complete and it came out better than I thought it would. It was quite a process but so worth it for the end result.
How to Make a DIY Welcome Sign
Supplies
- Wooden sign
- Stain (optional)
- Paint (optional)
- Sealant
- Permanent vinyl (if using a cutting machine)
- Wide wired-edge ribbon
Tools
- Paper/plastic for protection
- Paint brush/sponge
- Painter’s tape (this one is the best!)
- Sanding block (120 grit)
- Tack cloth
- Washcloth (optional)
- Vinyl cutting machine
- E6000 adhesive
Instructions for DIY Welcome Sign
- Protect your surface with thick paper or plastic.
- Sand your sign with your sanding block.
- Remove dust with a tack cloth or other clean, dry cloth.
- Read the instructions on your stain to see how to prep and apply the stain. Some stains work differently than others. Also make note of drying time. The one I used dries in an hour!
- Apply your stain with a cloth or a brush. A washcloth works great! Let it dry according to the instructions on the can.
- Apply a second coat if desired and let dry for the appropriate time. A few hours or overnight is ideal.
- Apply painter’s tape to section off where you want to paint.
- Start painting with acrylic paint in that section, painting with long, even strokes, going with the grain. Let dry for 1 hour.
- Apply another coat if desired, let fully dry for a couple hours.
- Spray with sealant. Let sealant set and dry overnight.
- Make vinyl lettering with Cricut or other cutting machine and attach to sign.
- Make bow out of your wired-edge ribbon.
- Attach the bow with strong adhesive like E6000. Hold it in place for a few minutes while the adhesive starts to set. Let fully dry overnight before hanging up.
Notes
- Some crafters opt to paint their lettering using a stencil rather than using vinyl lettering. That’s a great idea! Do this before applying the sealant and give it time to dry.
- Apply sealant before applying vinyl letters, not after. Applying it before gives a good surface for the vinyl to stick to. Permanent vinyl is not meant to be sealed and may lift from the surface if sealed.
- Bow making can be difficult and there are many different kinds you can make. Be patient and try a few to see what style looks best for your sign.
- Remember, these are all suggestions if you want to make a sign similar to mine. Your sign starts as a blank canvas and you are the artist that decides how you want it to look. Don’t be afraid to do it your own way!
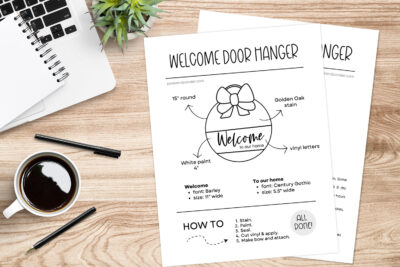
Sign up to download the instructions below
- 20 Spring Activities for Adults - March 20, 2025
- Home Coffee Bar Essentials - March 9, 2025
- Cricut Machine Comparison: Which one to buy? - January 3, 2025

Such an awesome blog! All the information provided by you is really very helpful for all. By using tack cloth you can keep your project dust-free and it is useful for cleaning fine dust off a surface and gives you a smooth finish. Keep Posting! Keep Sharing!